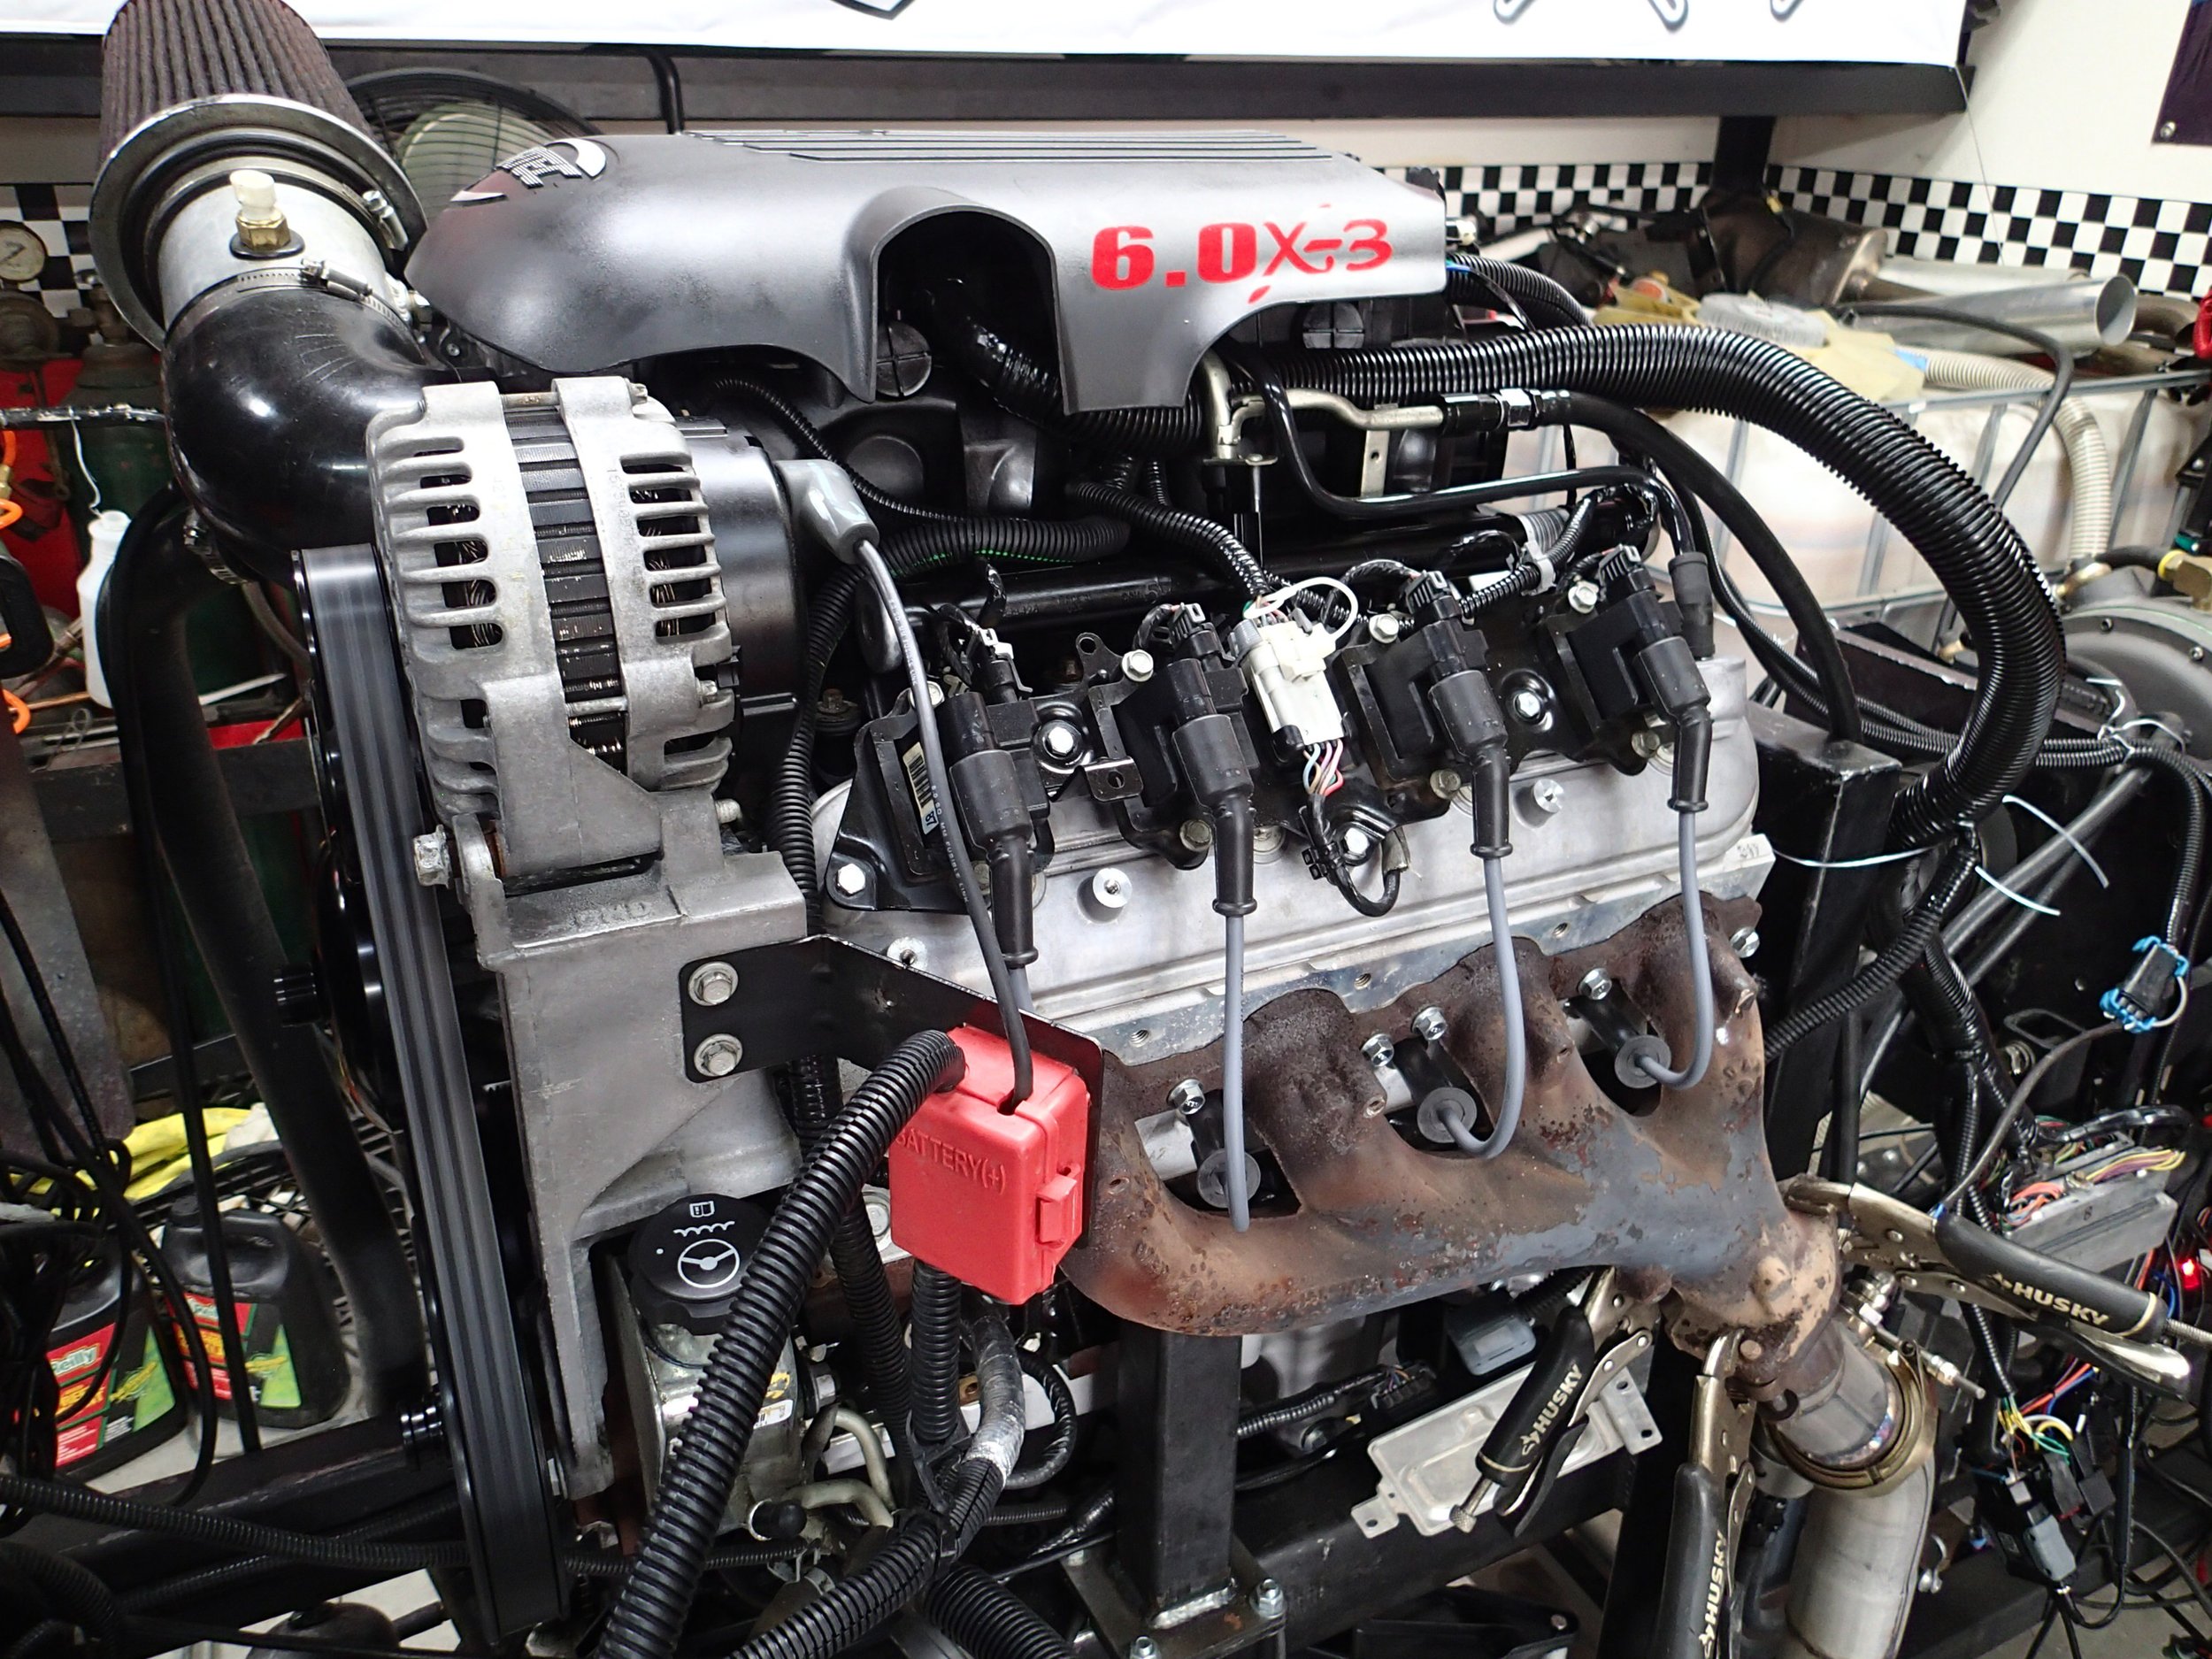
Engine: 6.0L LQ4
Refurbished GM small block sourced from a 2005 Hummer H2 with 147,000 miles
The Jeep’s original engine, a 4.2L AMC straight-six, was shot.
It had 140,000 miles and hadn’t been turned over in two decades. I debated refurbishing the motor but ultimately decided to upgrade the entire power train.
As I researched potential solutions, one thing became crystal clear to me: keep things simple by following in the footsteps of others.
A GM “Gen III” small block, therefore, was the way to go.
Engine internals
BD Turnkey Engines gives you a “menu” of options when you purchase an engine from them. I selected several modifications and add-ons.
Cam shaft
Bryan recommeded the Texas Speed & Performance (TSP) Stage III cam. Here are key stats:
Intake duration @ 0.050”: 216 degrees
Exhuast duration @ 0.050”": 220 degrees
Intake and exhaust valve lift @ 1.7 RR: 0.550”
Lobe separation angle (LSA): 111 degrees
Valve springs
Bryan’s team installed GM Performance LS6 valve springs.
Oil pan
To achieve a higher clearance over the stock oil pan, BD Turnkey installed a 302-1 LS oil pan (with a new filter, of course).
If you search “302-1 oil pan,” you’ll see several options across several price points. Holley makes a beautiful option that, I’m sure, leads the market from both a functional and aesthetic perspective. I opted, however, for a non-name brand, since I wasn’t looking to build the sort of truck that goes to car shows and parks with the hood up for all to admire.
“Freshen up kit”
I decided not to purchase a completely rebuilt/remanufactured engine. Instead, relied on Bryan’s team to refurbish a high-quality engine. BD Turnkey offers a “freshen up” kit with the following components:
Cam bearings, Clevit CH-10 or CH-25 depending on year
Rod rearings — Clevit
Main bearings — Clevit
Oil pump and pickup O-ring — GM Performance
Timing chain set — Meling
Knock sensors and wiring pigtail — Import
Idler pulley — Import
Tensioner pulley — Import
Valve cover gaskets with bolt grommets — Texas Speed & Performance
Front timing cover gasket and front crank seal — Texas Speed & Performance
Rear cover gasket and rear main seal —Texas Speed & Performance
Oil pan gasket — Texas Speed & Performance
Water pump gaskets — Texas Speed & Performance
Engine re-wiring
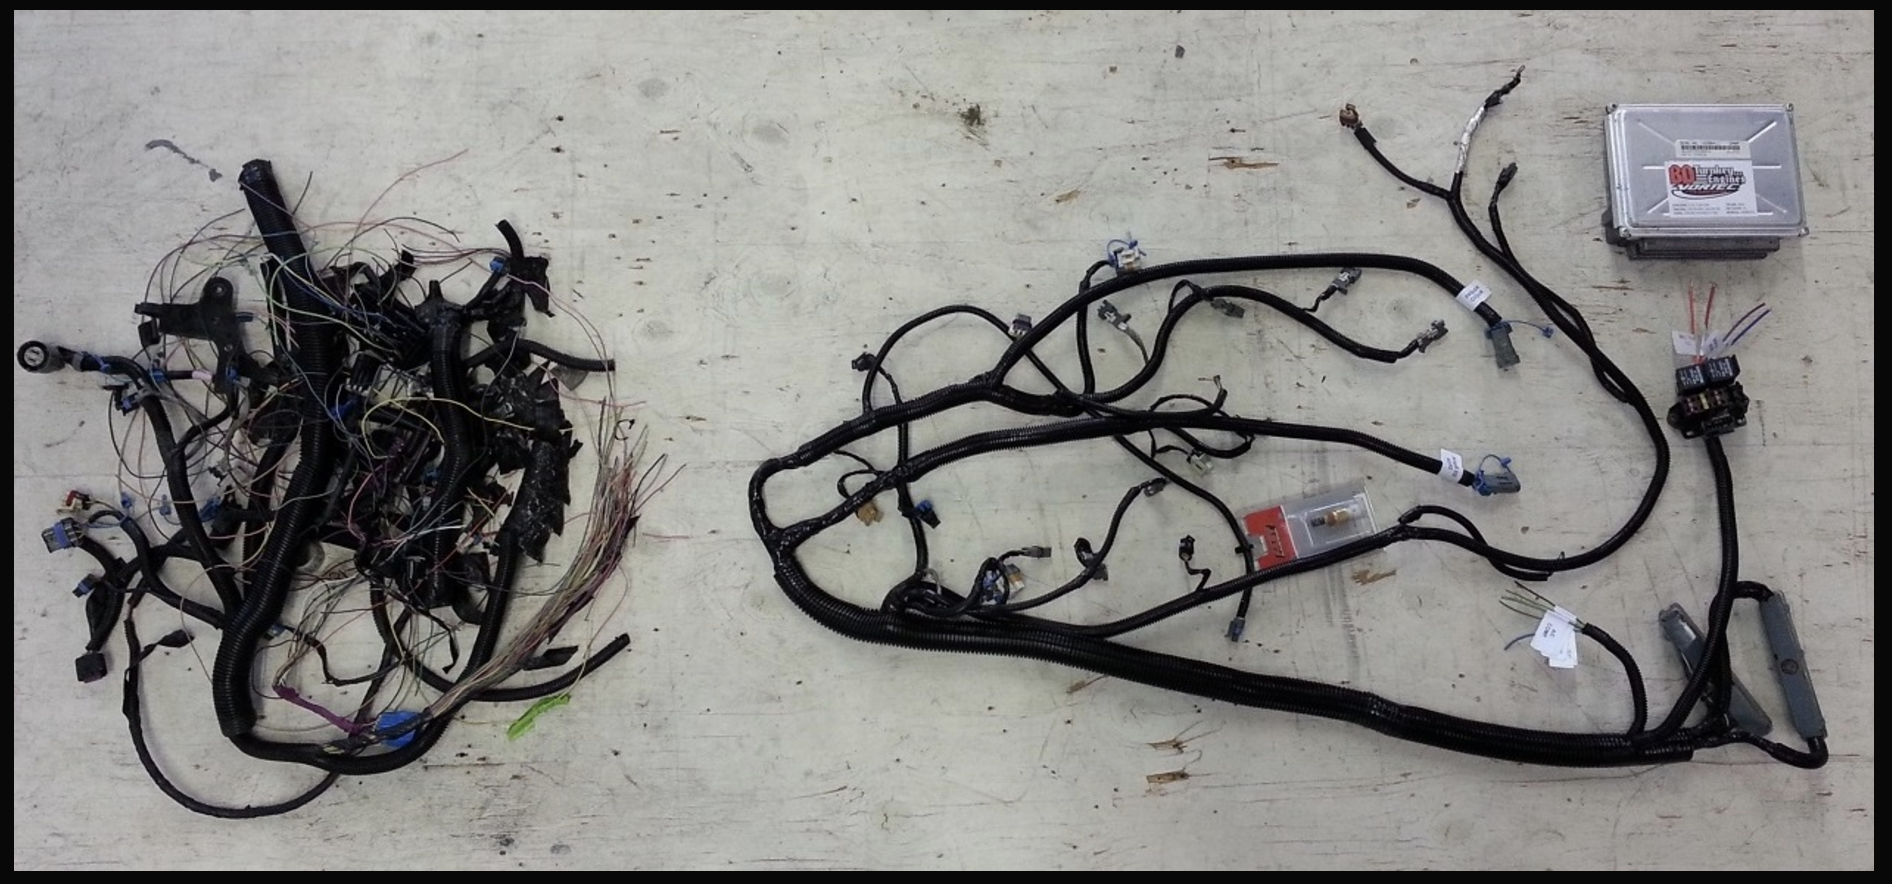
As part of their overall engine package, BD Turnkey rewires the OEM harness so that “your harness will be simplified down to four wires to make it start and run, and all unneeded plugs will be removed.” The simplified harness includes an OBDII connector for scanning and programing.
Here is a before and after shot from BD Turnkey.
Engine
I purchased an engine from Bryan Dacus of BD Turnkey Engines in Reno, NV. I had been following Bryan’s work for some time and consistently heard good things.
Bryan was extremely communicative and genuinely interested in the overall project. He willingly shared his expertise and helped me build the right engine. In fact, Bryan actually talked me out of spending more money with him over the course of a 20-minute call!
The engine came with a Carfax report (VIN 5GRGN23U95H100406) that showed a total loss in May 2024 after a front-end collision. The vehicle was sold at auction in June.
Dyno testing
For $375 (as of this write-up), BD Turnkey offers dyno tuning services for their engines. They use three different monitors: HP Tuners, DynoMax, and HP Scanner.
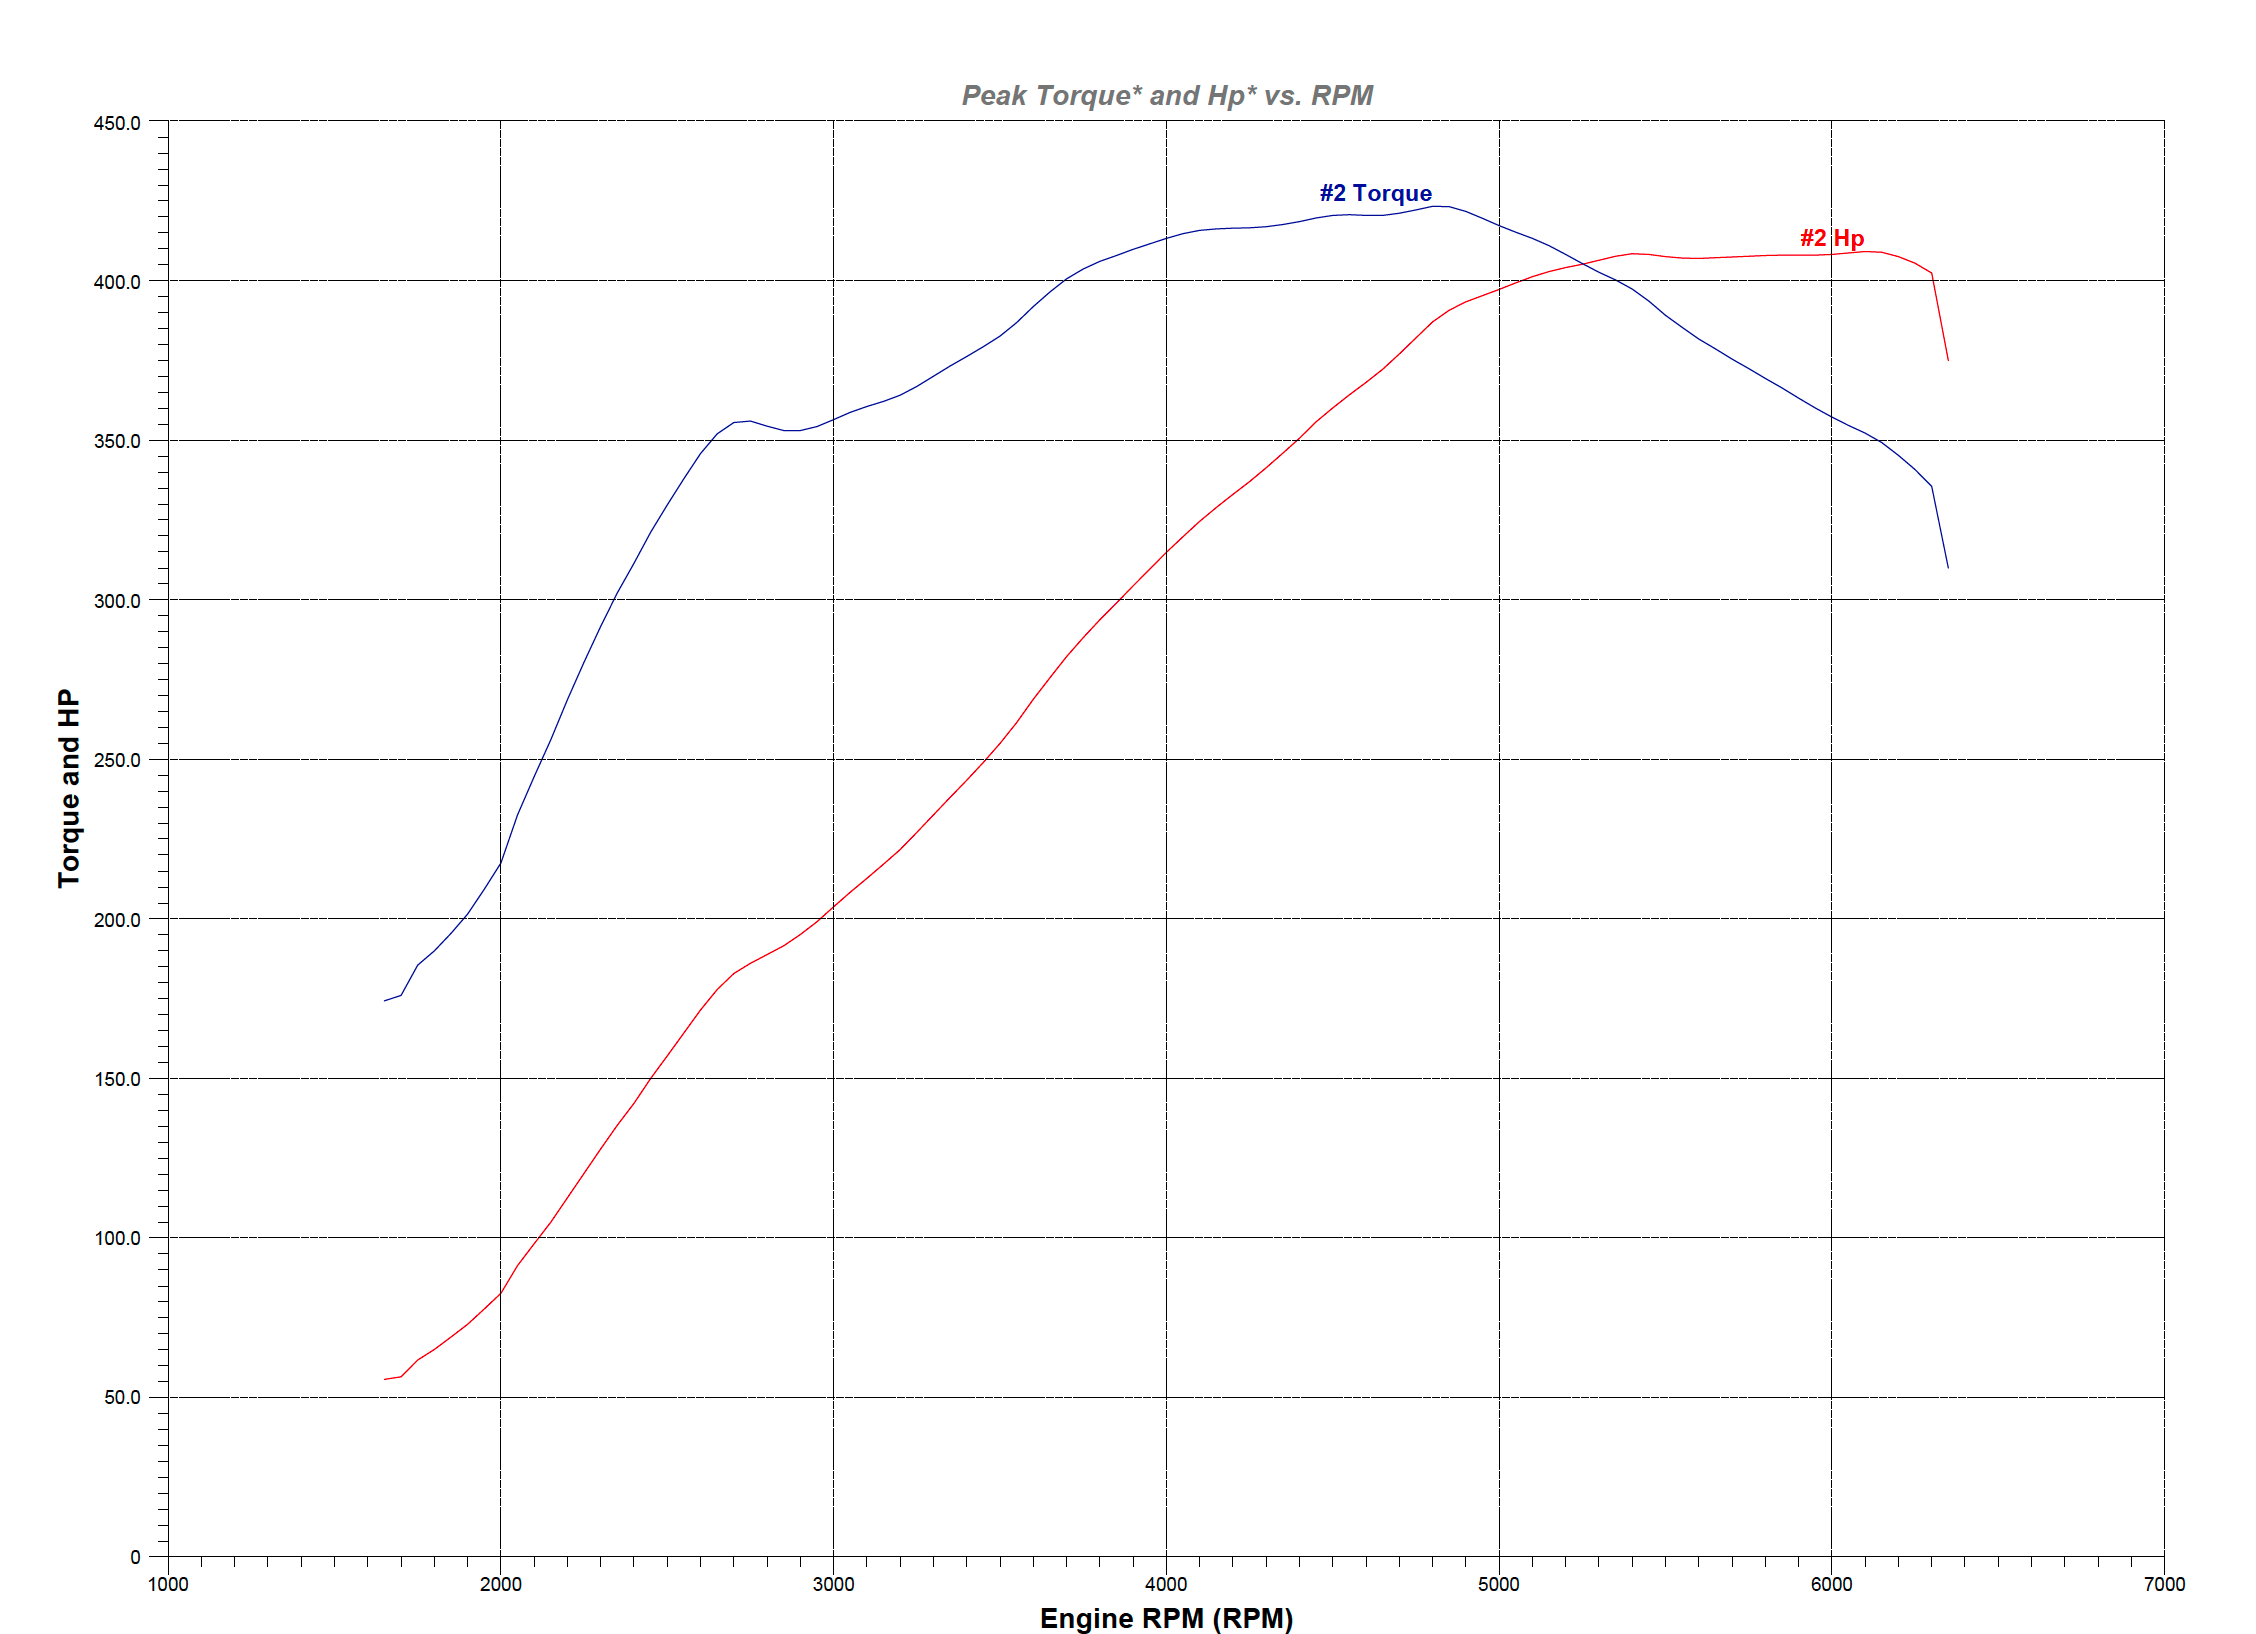
BD Turkey performed three dyno tests on my engine.
Dyno test 1 — 407 HP / 419 ft-lb torque
Dyno test 2 — 409 HP / 423 ft-lb torque
Dyno test 3 — 409 HP / 421 ft-lb torque
Cold air intake
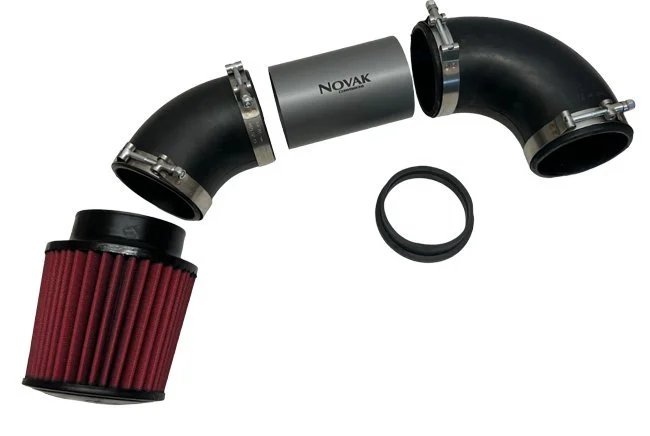
For the cold air intake, I once again visited Novak Conversions. Their kit is simple, durable, and compact. The filter, which comes with the kit, is AEM DryFlow filter 21-205DK.
The kit can comes with an insert — the ring in the accompanying image — that allows common mass airflow (MAF) sensors to be easily integrated into intake.
My engine, however, was specifcally tuned to operate without an MAF: “Your BD Turnkey Engine is going to run VERY good when you get it. You will be surprised at how good without a MAF because of the highly polished tune.”
Oil pressure sensor
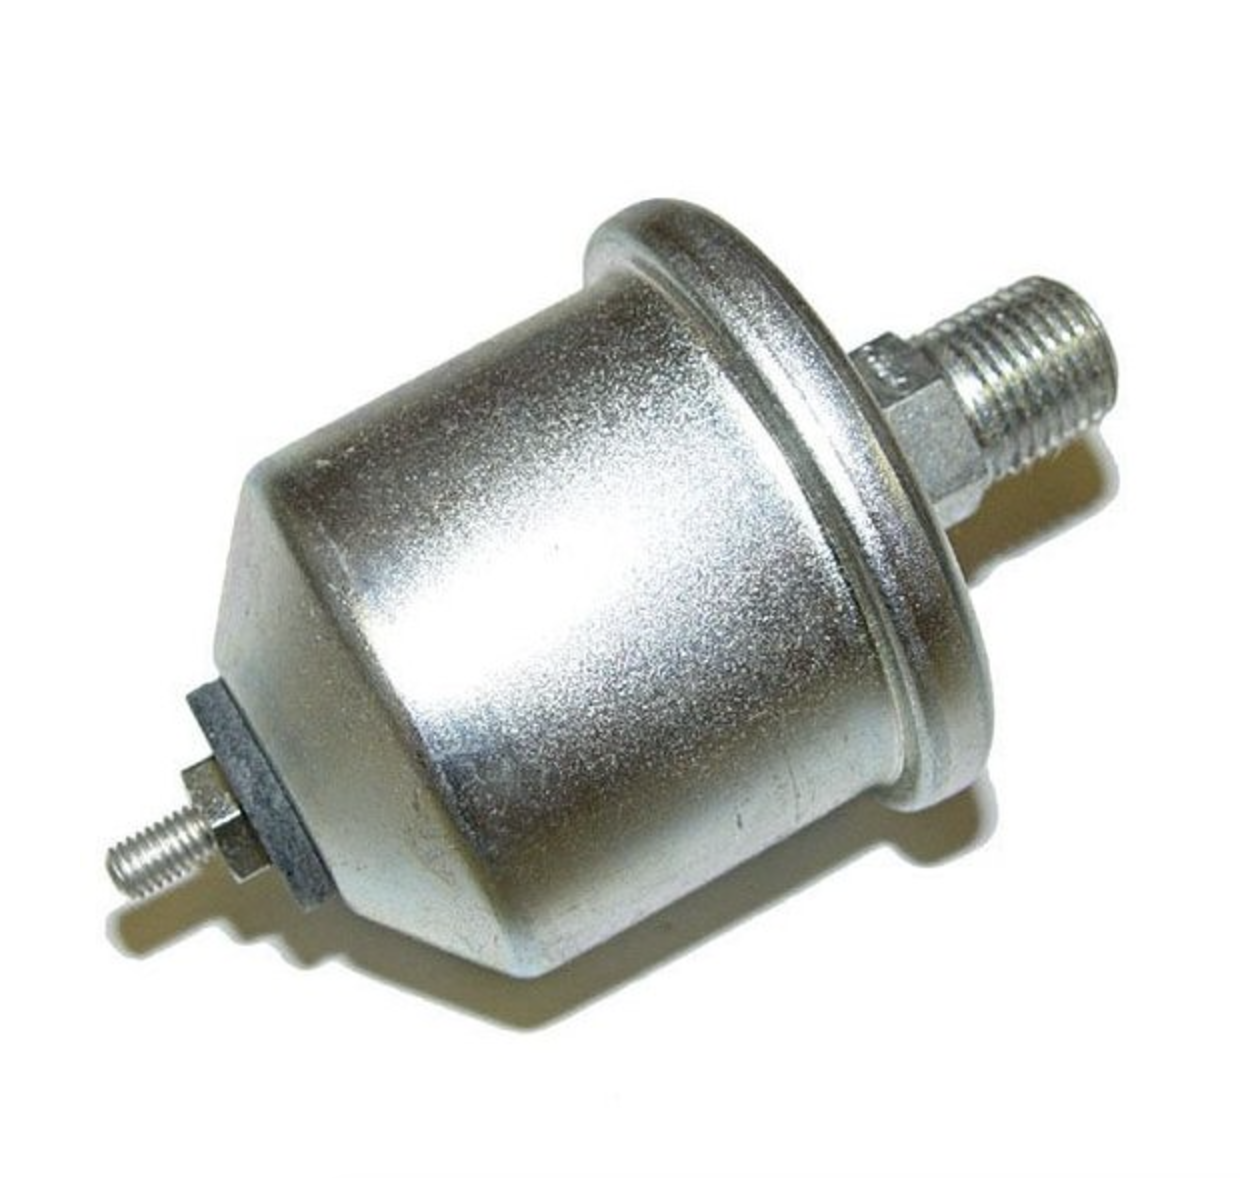
My research revealed two viable appraoches to installing the Jeep OEM fuel pressure sending unit on the LS/Vortec engine. I opted for the second because of potential clearance issues between the power steering pump and the Jeep OEM fuel pressure sending unit.
Before detailing the two approaches, it’s worthwhile addressing a seemingly viable third option that I encountered online: using the factory oil pressure port behind the intake manifold.
Based on the install sheet I got from BD Turnkey Engines, this port is not ideal because “the factory oil pressure sensor…is a secondary passage and for the ECM.” To get an accurate oil pressure reading, the sending unit needs to be in a primary oil passage that shows oil pressure “at the crank, rods, cam, and general ‘lower end’ of the engine.”
Approach 1: Use an existing port on the engine block with an adapter
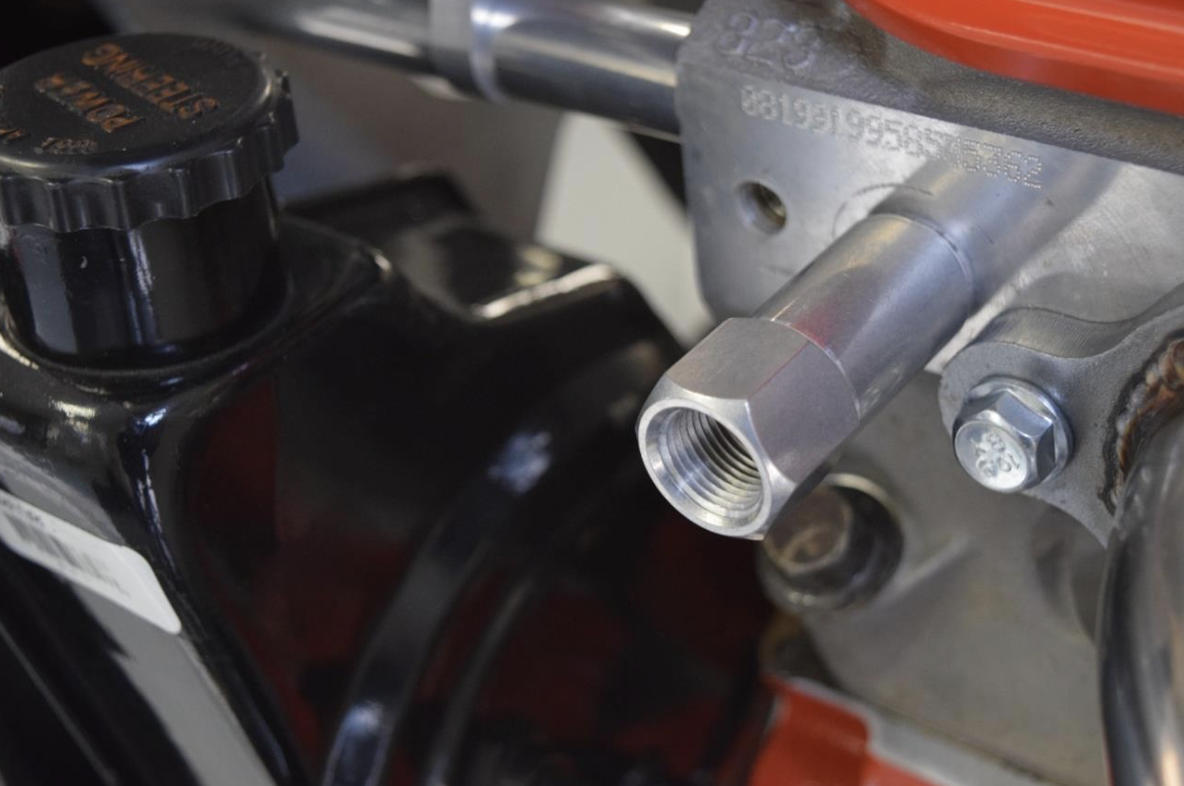
LS engines have two oil ports, and, just like the two coolant temperature ports, one is unused. The unused port is located on the driver side of the block, behind the power steering pump. We can hook up the OEM Jeep sending unit to this port with an adapter.
The OEM Jeep oil pressure sending unit has 1/8” NPT female threads, while the oil port has M16 x 1.5MM male threads. Here is one of many adapters available online.
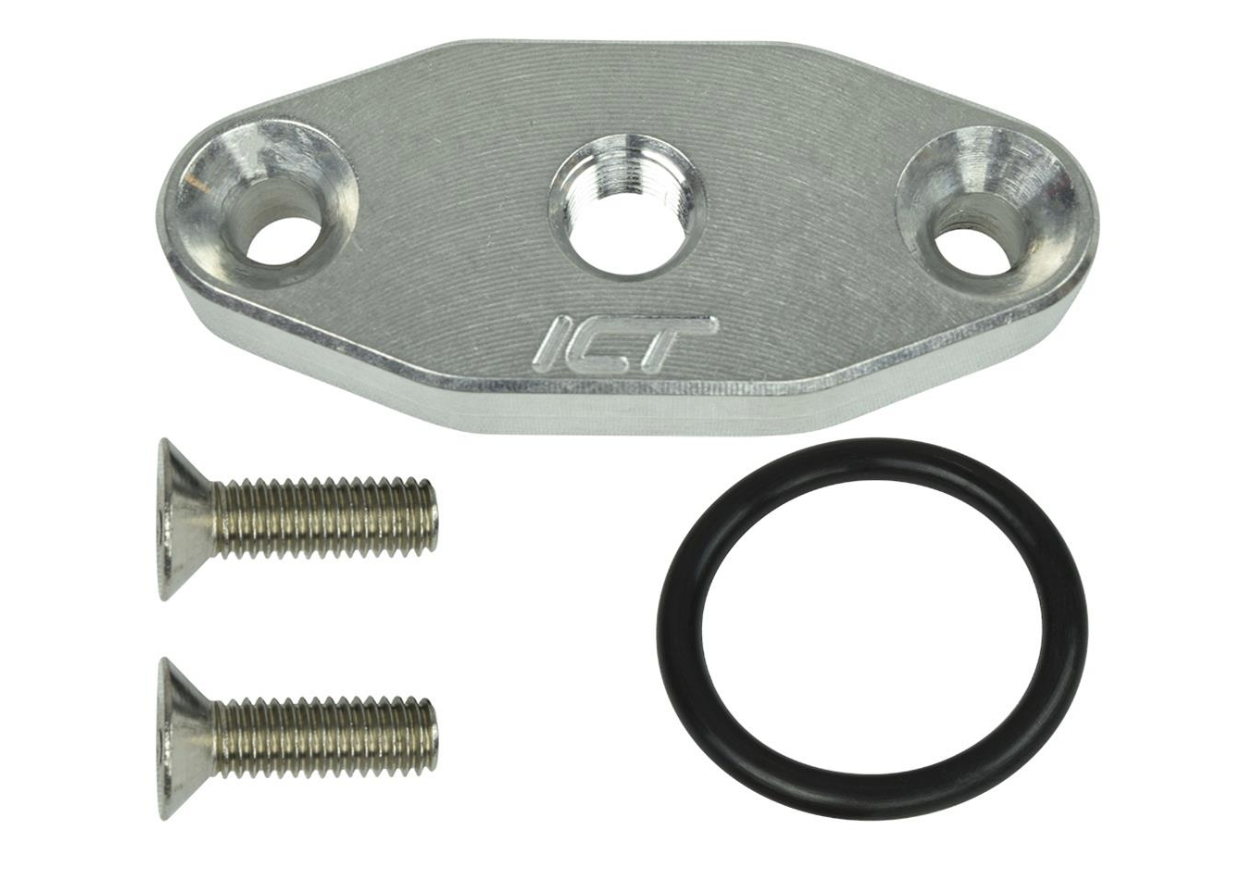
Approach 2: Use an after market oil pan adapter plate
Here is a nice billet aluminum adapter that has a 1/8” NPT port. This adapter attaches to the oil pan, just above the oil filter, and allows you to screw in the Jeep oil pressure sending unit.
Again, I used this approach to avoid potential clearance issues between the power steering pump and the Jeep oil pressure sending unit.
Sensors/guages
I wanted to keep all the original, analog guages in the cab. To accomplish this, I had to use an assortment of adapters.
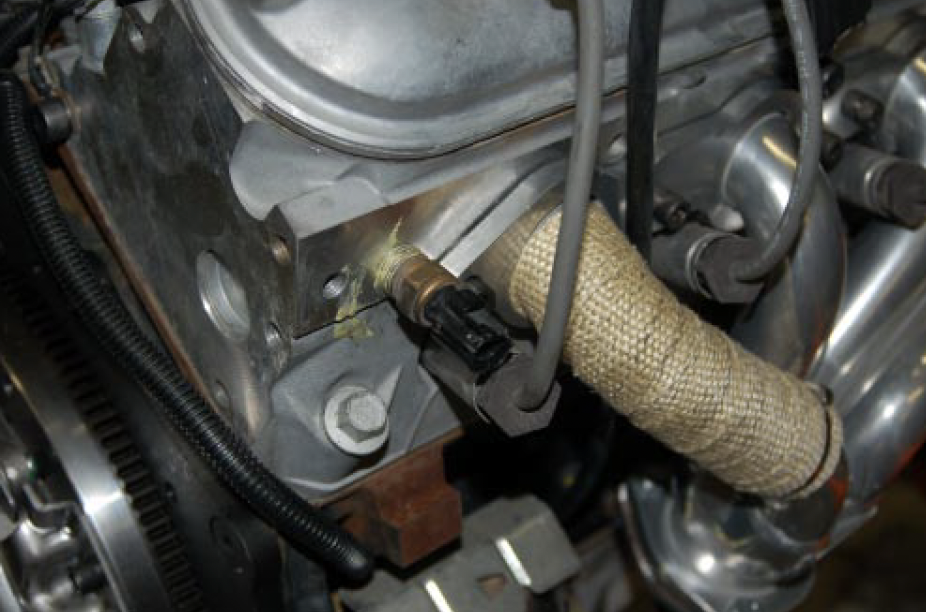
Coolant temperature sensor
According to Novak’s LS swap installation guide, “the original Jeep sender can be threaded into the [LS] heads…though adapting with fittings may be required.”
My 6.0L — and, as far as know, all — Vortec/LS engines have two coolant temperature sensor ports:
Front of the driver-side head: This port is occupied by the temperature sensor that feeds the GM PCM and is required to properly run the engine. Don’t touch this guy.
Rear of the passenger-side head: This port is unused and plugged. This is where I installed the adapter and sensor.
Perhaps not surprisingly, the OEM Jeep CJ temperature sensor was not plug and play: the GM block male threads are M12 x 1.5MM, while the Jeep sensor sending unit female threads are 3/8” x 28.
Equally important, the Jeep temperature sending unit is 1-11/16” long, which requires the use of an extended adapter. I found this adapter, ICT Billet Gauge Adapters 551179L, which fits “sensors with [a] 1.7 inch probe.” (Here is a cheaper version on Amazon.)
1-11/16” is 1.6875”, which led me to believe the sensor would seat into extended adapter just fine. The adapter and sensor combination, admittedly, sticks out far and isn’t the cleanest look. But I think it’s better than trying to tap the head or locating the sensor elsewhere.
This video shows the installation process, albeit for an LS engine in a Jeep TJ. As the author notes, you’ll want to use a sealant on the threads.
Voltmeter
According to Novak’s L3 installation guide, the voltmeter is the “simplest” guage to connect: “The voltage signal is provided by the 12v current going across the wire harness. No changes are required here.
Motor mounts
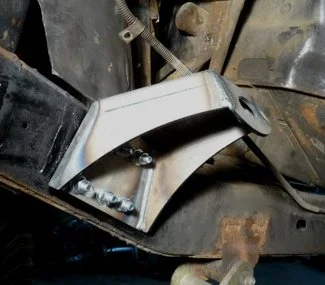
I purchased motor mounts from Novak Conversions — part number MMCJ-G3. As Novak states, their “bolt & weld-in engine mounts for the 1976-1986 Jeep CJ provide immense strength and a precise GM Vortec & LS V8 engine installation.”
According to the product website, the mounts “fit all 1976-1986 Jeep CJ models.”
Vacuum port / brake booster
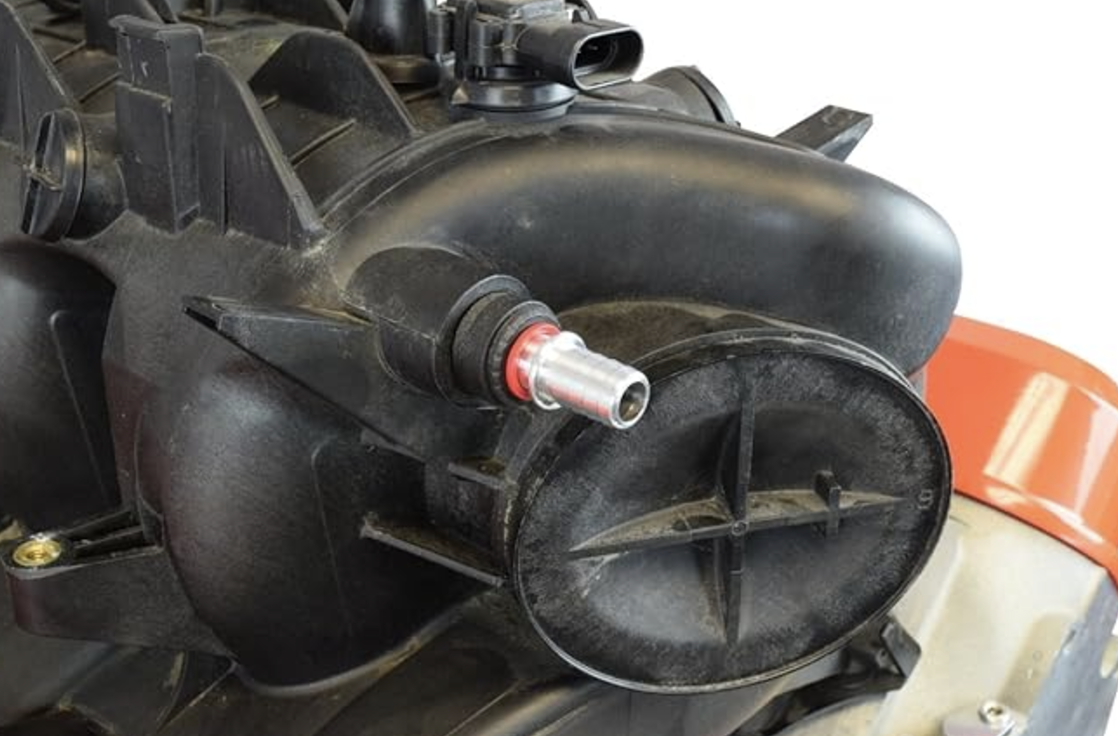
My 6.0L, which is out of a 2005 Hummer H2, has a vacuum port on the back of the intake manifold. Using a simple and quick process, you can remove the plug on the vacuum port with just your hands. (Some intake manifolds, however, might need to be tapped.)
Once you have the port open, you can insert a barbed vacuum port fitting.
Headers
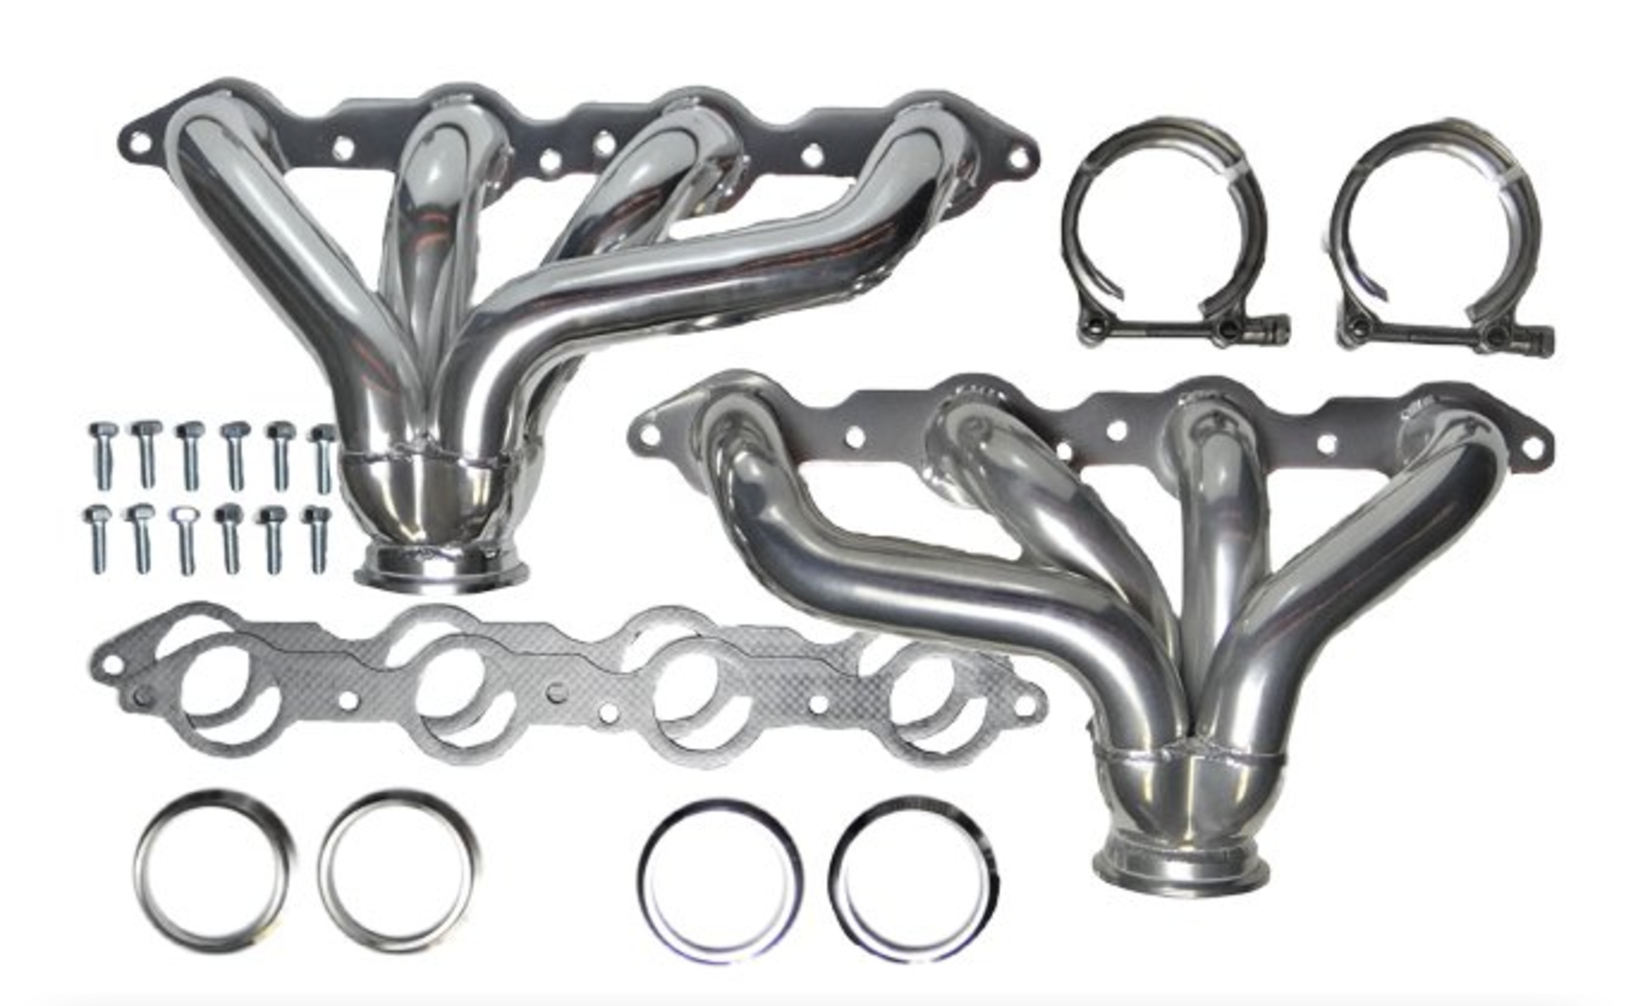
Jeep CJs have relatively narrow frame rails. To properly seat a GM engine between them, you need to use “block hugger” headers.
There are several options in the market, most of which are priced between $500 and $700, depending on what finish you want — a ceramic coating, for instance, comes at a premium.
I opted for Novak’s headers, which are ceramic coated and specifically designed for Jeep CJs. The part number is EH001.
This masterfully built Scrambler used Hedman headers.
